
This article was first published at Bitsaga, have a look at their offerings.
So you’ve taken the critical step: you’ve moved your Bitcoin off an exchange and into your own hands. That’s already a big win for your self-sovereignty. But perhaps you’re starting to wonder about the black box you hold, or the software running inside it. Is my key really safe? What could still go wrong? Who am I still trusting? Is the firmware really safe? Perhaps you’re a little bit like me and start to feel more and more discomfort every time you physically connect your hardware wallet to your computer… you know many smart people are looking at the code, but still, you’ve never checked it yourself…
Then you hear about air-gapped hardware wallets. They communicate via QR-codes and never touch the internet. Very cool, but there’s many options to choose from… and these price tags… Is it worth spending 200 euro on a hardware wallet while the cheaper options have everything I need? Maybe in a year I will upgrade to multisig and I will need to buy one or two more devices? Many questions to ponder over… If you take a step back and reflect on what type of user you are, or what you ultimately want from your Bitcoin setup, you can start to position yourself in a certain category. You realise you’re ready to take things to the next level and truly embrace the “don’t trust, verify” ethos that defines Bitcoin.
This is where the SeedSigner enters, an essential upgrade in securing your digital property. You could be looking to upgrade your single-signature setup, or even considering to dip your toes into the world of air-gapped multisig. The SeedSigner is fundamentally different from almost everything else on the market:

First, the SeedSigner is stateless by default. Unlike most hardware wallets that persistently store your private key (even if in a secure element), the SeedSigner loads your seed into its temporary memory (RAM) only for the duration of your session. The moment the device is powered off or rebooted, that information is wiped clean. This design choice is a profound security upgrade, as there is no persistent key material to target on the device itself. This means even if someone gets their hands on your SeedSigner, there’s nothing to steal. This is true peace of mind. A device that’s secure by default, a tool that can only be used in combination with something else (a secret), or a vault that only exists when you open it.
Second, the SeedSigner is built entirely on the “don’t trust, verify” principle, from its components to its code. As a DIY project, you assemble it yourself from readily available, verifiable parts like a Raspberry Pi Zero. This non-proprietary hardware means you can scrutinize the components, and the entire software stack is open-source and auditable. You’re not relying on a sealed black box or hoping a company’s claims are true. You can literally verify that what you’re using is exactly what it claims to be, building a level of trust that proprietary devices simply cannot match. As a Bitcoiner, this is truly refreshing, and it feels like you’re stepping away from a company product to embrace the true open-source mindset.
This combination of stateless operation and verifiable, open-source hardware and software makes the SeedSigner uniquely positioned. Very few other devices offer this level of trustlessness and flexibility in a single package.

Nothing but air
Your singlesig setup might rely on a hardware wallet plugged into a computer or even a hot wallet on a connected device, exposing it to potential malware. SeedSigner is different: it’s fully air-gapped, never physically touching the internet or any connected device. Signing transactions is handled via QR codes, scanned with SeedSigner’s camera and displayed on its screen for your networked device (with the wallet software) to read. It might feel confusing in the beginning, but after a while you start to get a grip of what a typical signing flow consists of. Using a wired connection, you simply chose ‘sign’ on the software and approve on your device, but now you clearly see that your unsigned transaction needs to flow to your device, where it is signed with the private key, and ultimately flow back to your wallet software, where it can be reviewed and broadcasted to the network. This two-way QR exchange between two devices separated by nothing but air ensures your private keys never leave the device, shielding you from any online threats. This means a fortress-like setup where your Bitcoin stays safe, even if your computer or phone is compromised.
Trustless Seed Generation: Dice or Pixels?
Creating a secure seed phrase is critical, and SeedSigner offers two methods to do it. Both methods rely on physical randomness you control, ensuring no one, not even the device, can predict or manipulate your seed. One way is to take a photo with the onboard camera to generate a seed from the image entropy. You snap a picture of anything (your desk, a tree, your dog), and SeedSigner uses the pixel data to create a truly random seed. No two photos are identical, making this method highly secure. For me personally, since we’re going hard into being as trustless as possible, it feels like I’m still putting some trust into the photo conversion algorithm. But it’s a fast and solid method nonetheless. If you want to really go the last mile, you can roll dice (99 rolls for a 24-word seed or 50 rolls for a 12-word seed). This way you can be extremely certain your seed is highly random and only you could have created it.
The Cheapest Way to Try Multisig
If you made it this far, you’ve touched the limits of a fully trust-minimized single-signature setup. Then, there is multisig, requiring multiple keys to authorize a transaction. This is the gold standard for Bitcoin security, but it can seem daunting and expensive, often requiring multiple hardware wallets. SeedSigner changes the game by letting you load multiple keys on a single device, making it the most cost-effective way to experiment with multisig. For less than $50, you can build a SeedSigner yourself using widely available components. You can generate or import multiple seeds, export their extended public keys (xpubs) to a wallet coordinator like Sparrow or Nunchuk, and set up a 2-of-3 or 3-of-5 multisig wallet. I wish I knew this myself before I got into multisig, as it’s an incredibly powerful yet low-risk way to upgrade from singlesig.
Test your Recovery and Health Checks safely
Another great way in which SeedSigner can strengthen your setup is to do health checks and test backup recoveries. It can be a playground for testing without risking your actual funds. Since it’s stateless, you can generate test seeds (using dice rolls or photo entropy) and practice setting up multisig wallets on Bitcoin’s Testnet. You can simulate recovery scenarios, verify backups, and ensure your wallet descriptors are correct—all without touching your real Bitcoin. SeedSigner’s interface even lets you verify receive or change addresses by scanning a descriptor QR code, ensuring your wallet is configured correctly. This approach helps you build confidence in your security setup, so you’re prepared for any worst-case scenario. Personally, I love how you can test wallet recovery from your seeds phrases without entering them into an internet connected device. Just enter the seeds one by one into a SeedSigner and test your signing flows from a single device.
To conclude: Why SeedSigner is Your Swiss Army Knife
Upgrading to an air-gapped hardware wallet or even transitioning from a singlesig to a multisig setup can feel overwhelming. SeedSigner is the perfect entry point because it’s affordable and packed with features that make advanced security accessible. The stateless and air-gapped nature minimizes risks, and its compatibility with wallets like Sparrow, Specter, BlueWallet, and Nunchuk makes setup straightforward. You can experiment with multisig on a single device, learning how to manage multiple keys and sign transactions without needing multiple expensive hardware wallets. Plus, the DIY build process and open-source software let you dive under the hood, deepening your understanding of Bitcoin security.

Get Started with SeedSigner
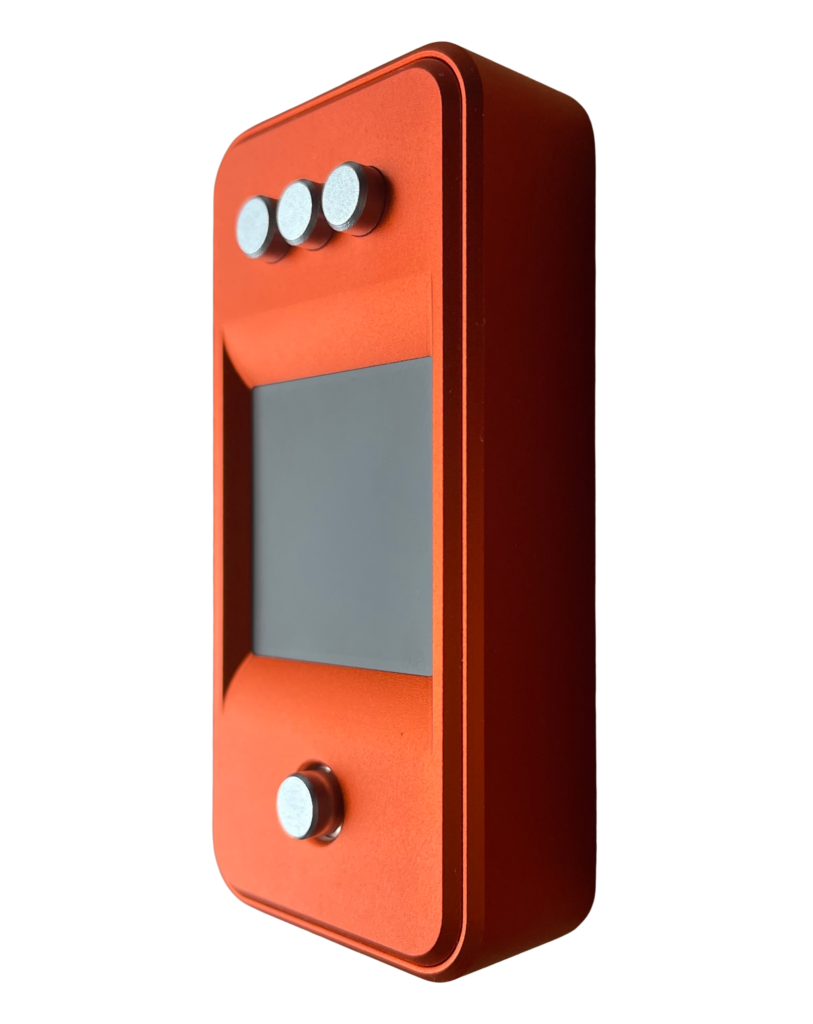
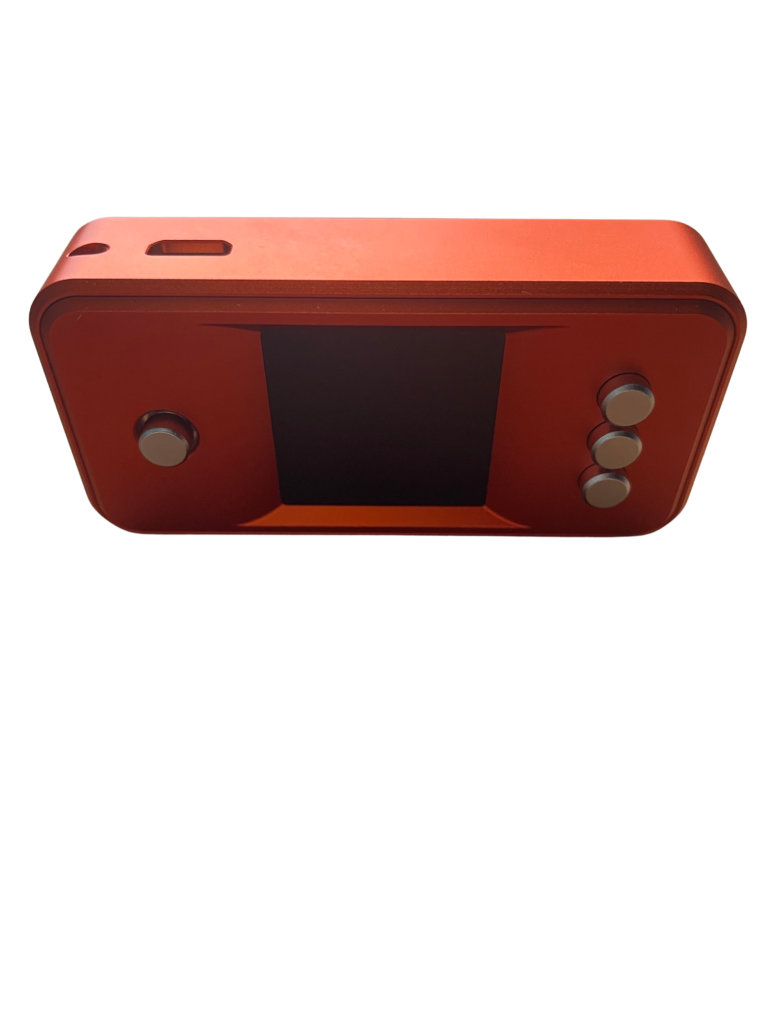
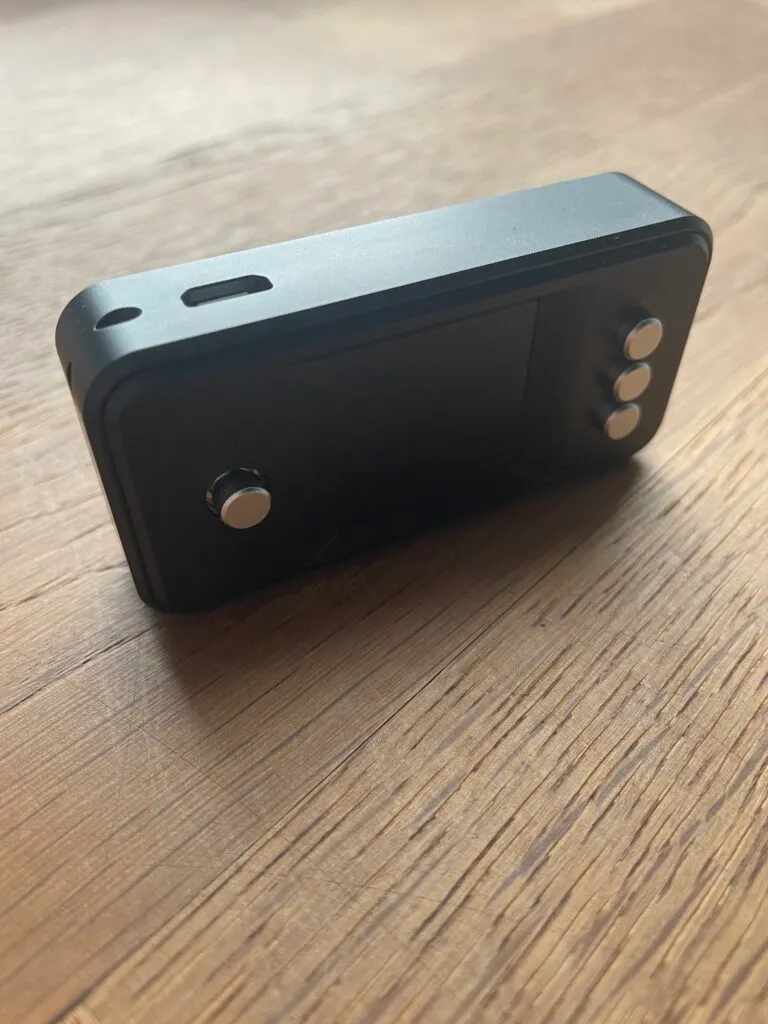
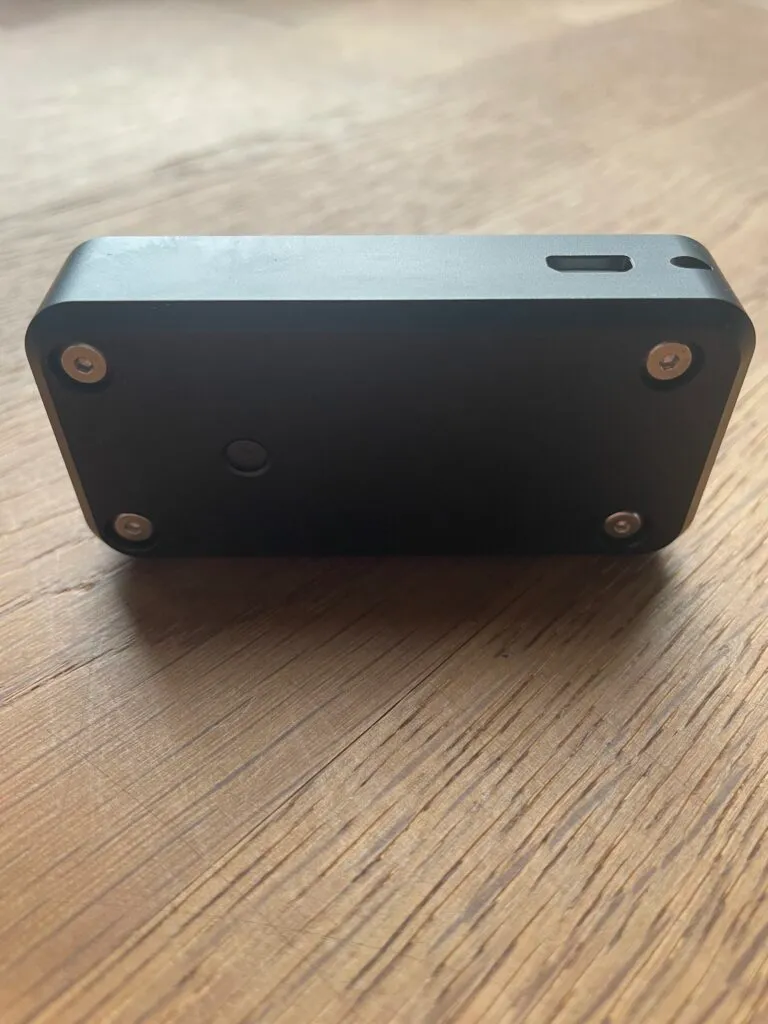
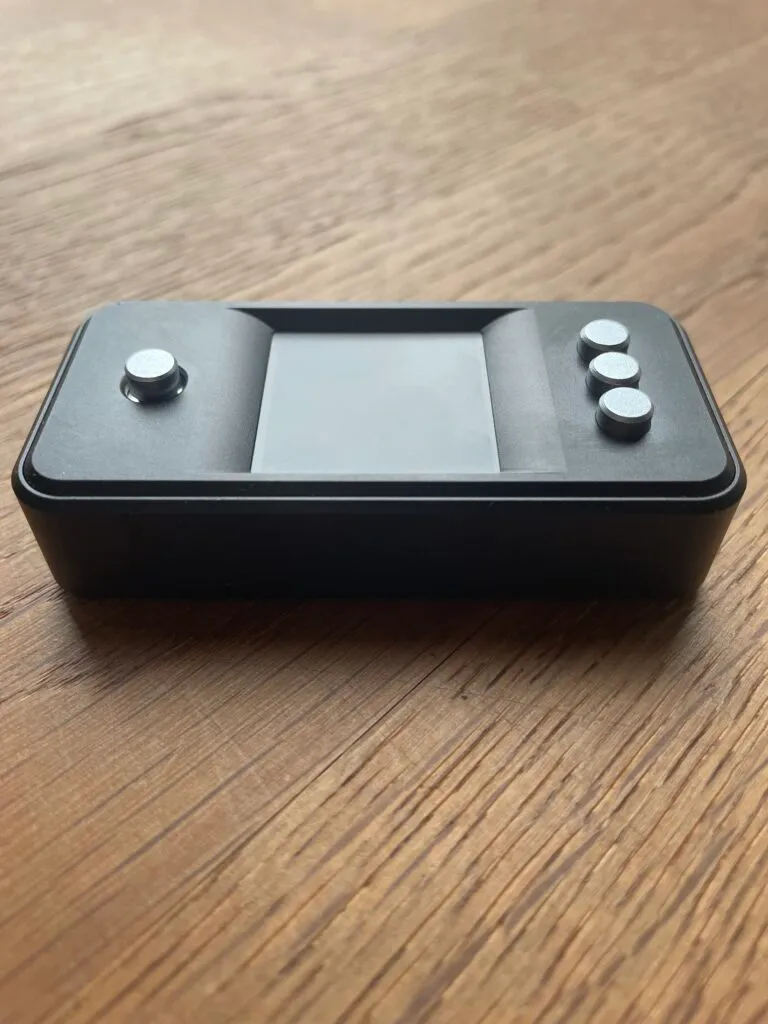
Ready to take your self-custody to the next level? Building a SeedSigner is simple: grab a Raspberry Pi Zero (v1.3), a Waveshare 1.3-inch LCD (240×240 pixels), a compatible camera, and an “Orange Pill” 3D printed enclosure to put it in. Download the latest SeedSigner OS image from the official SeedSigner product page, verify it, and flash it onto a microSD card. From there, follow the guided interface to generate seeds, set up a multisig wallet, or sign transactions. I found this process to be surprisingly fun, educational, and honestly really empowering if you value sovereignty and security.
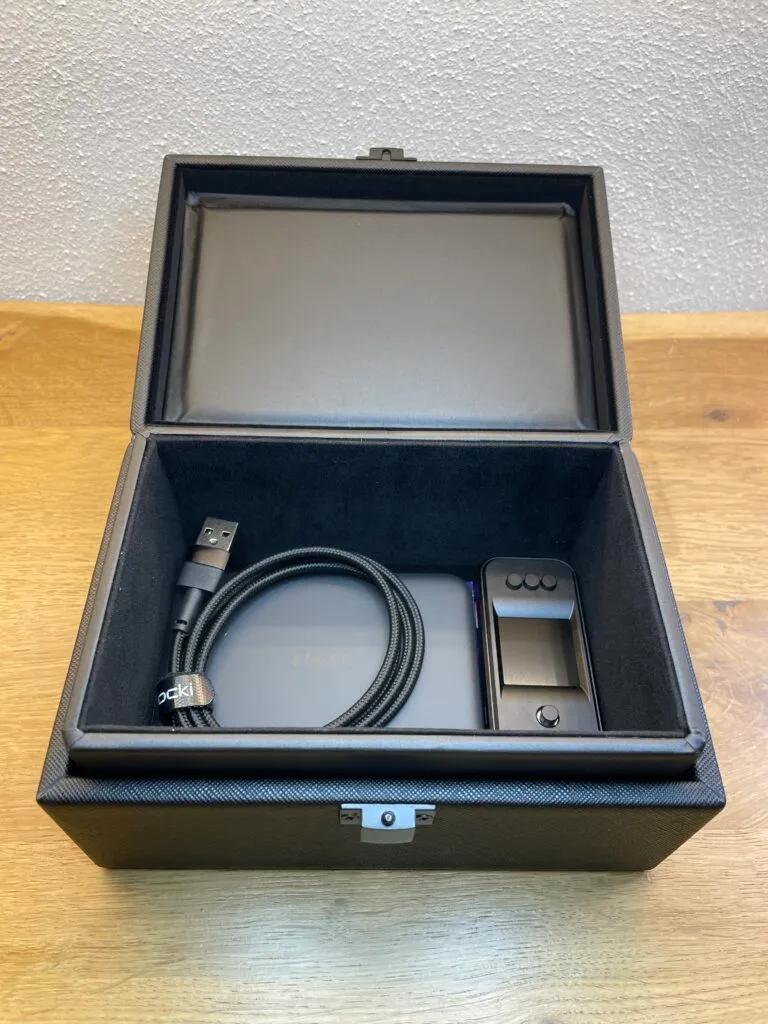
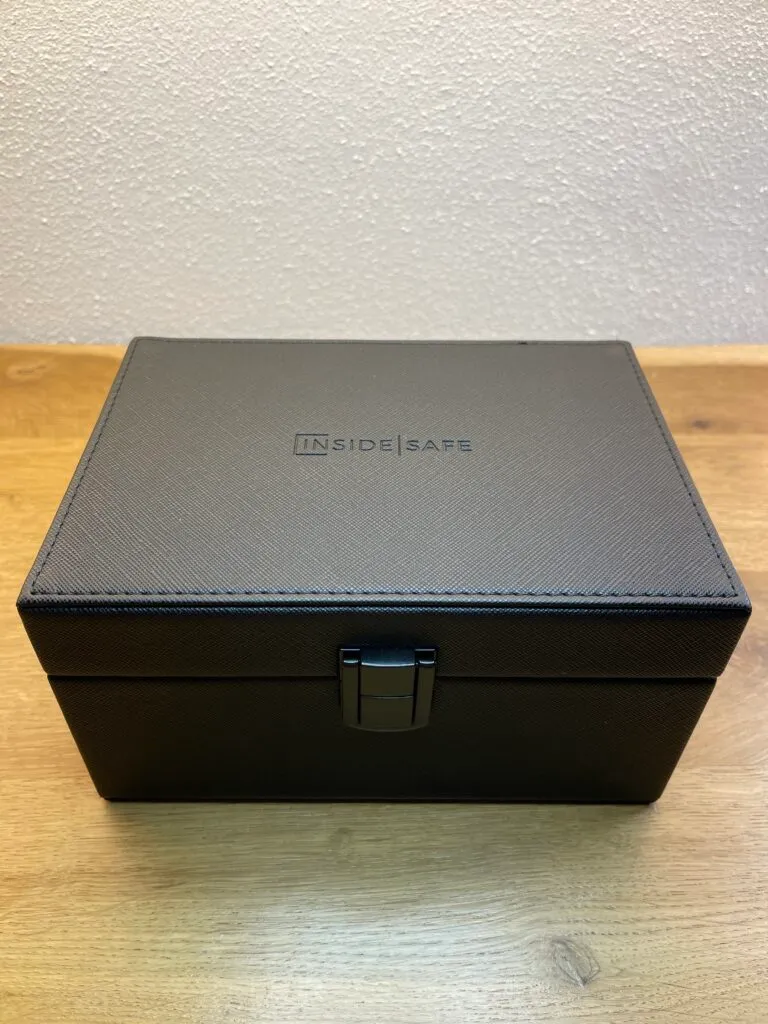
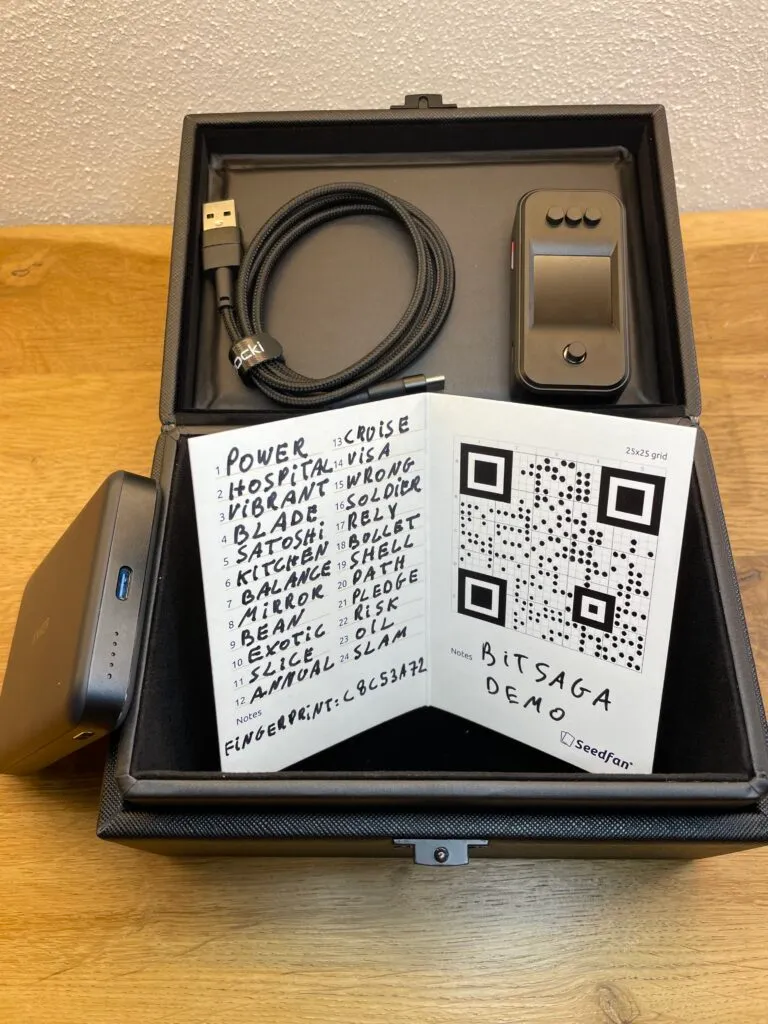
If you’re less into tinkering, which is totally understandable, and want to order an assembled premium kit from CNC aluminium, Bitsaga has an amazing SeedSigner premium v2 or even a pro bundle with power bank and Faraday box.

Leave a Reply